


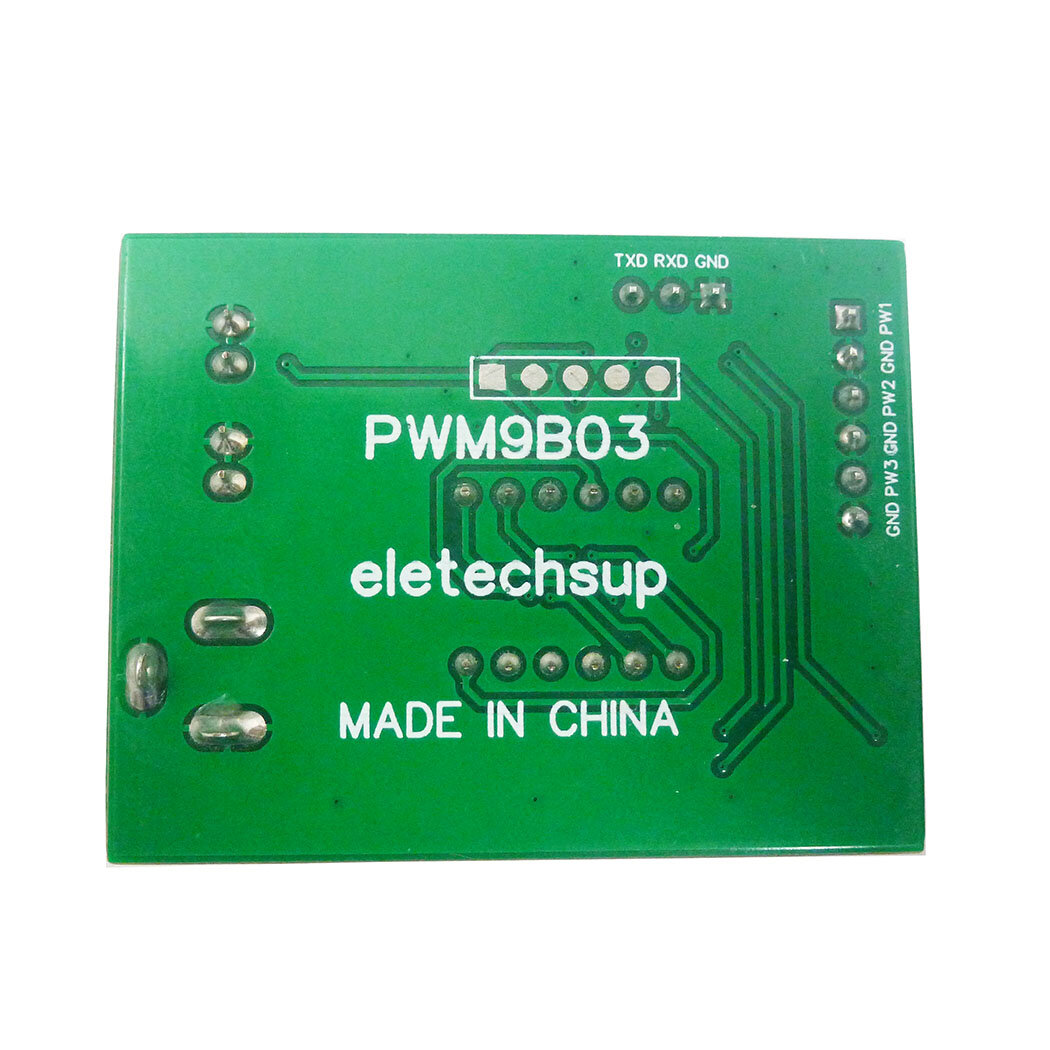
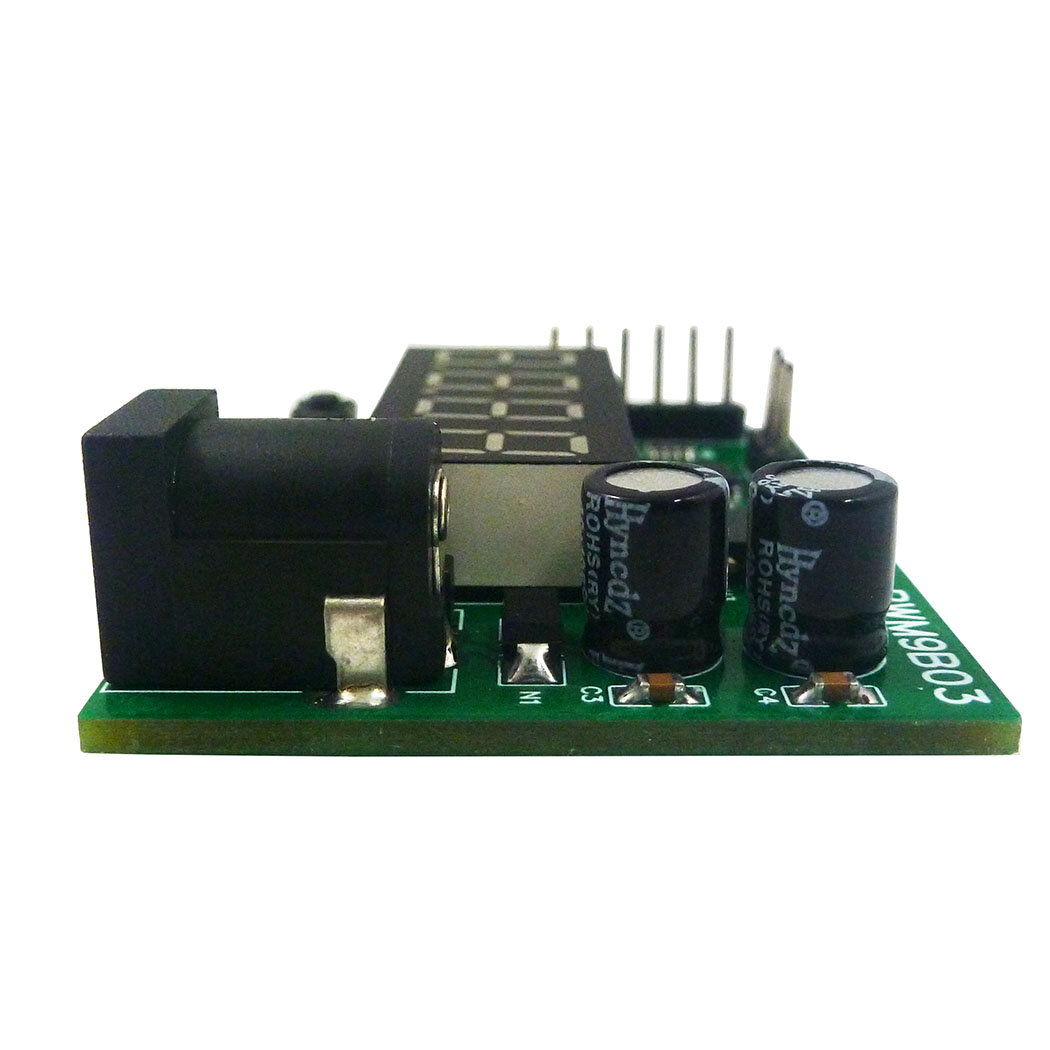

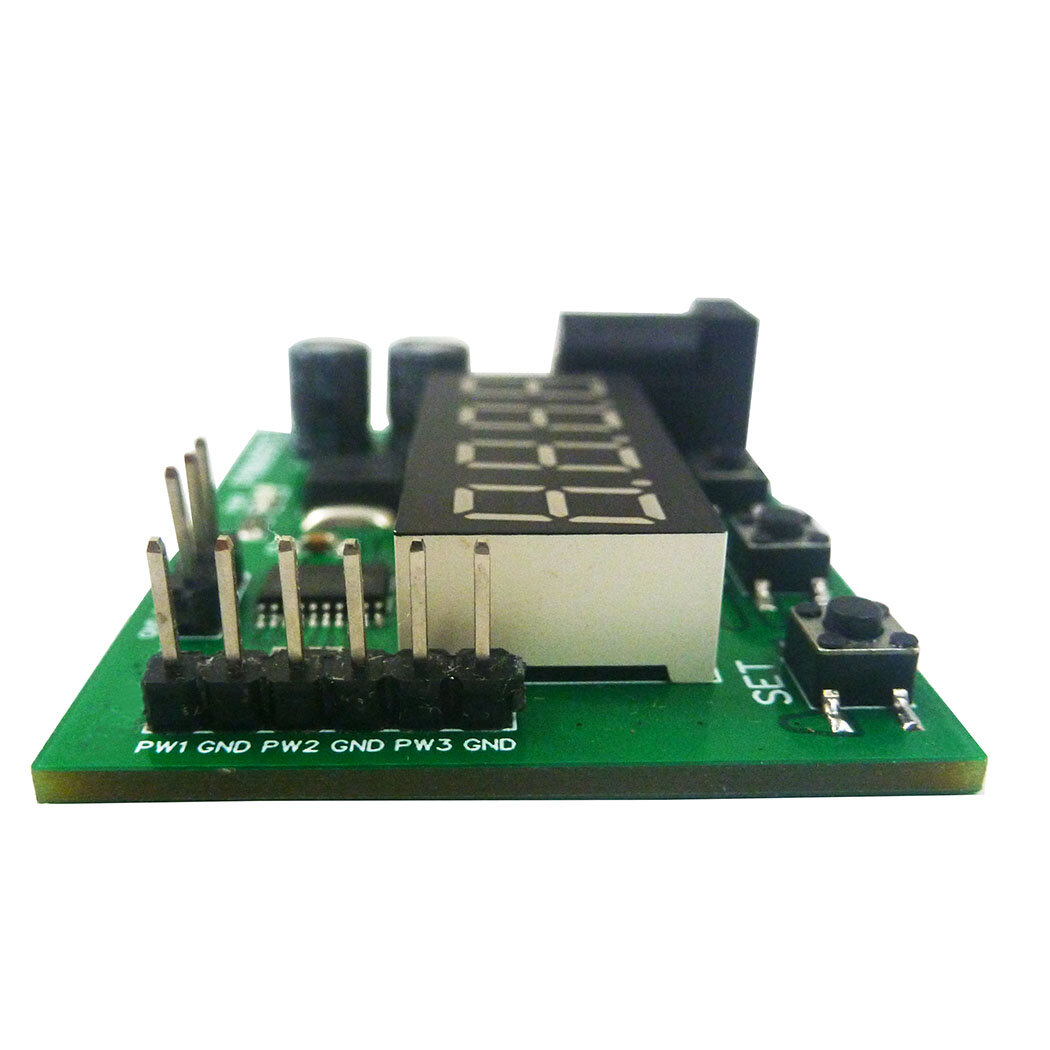
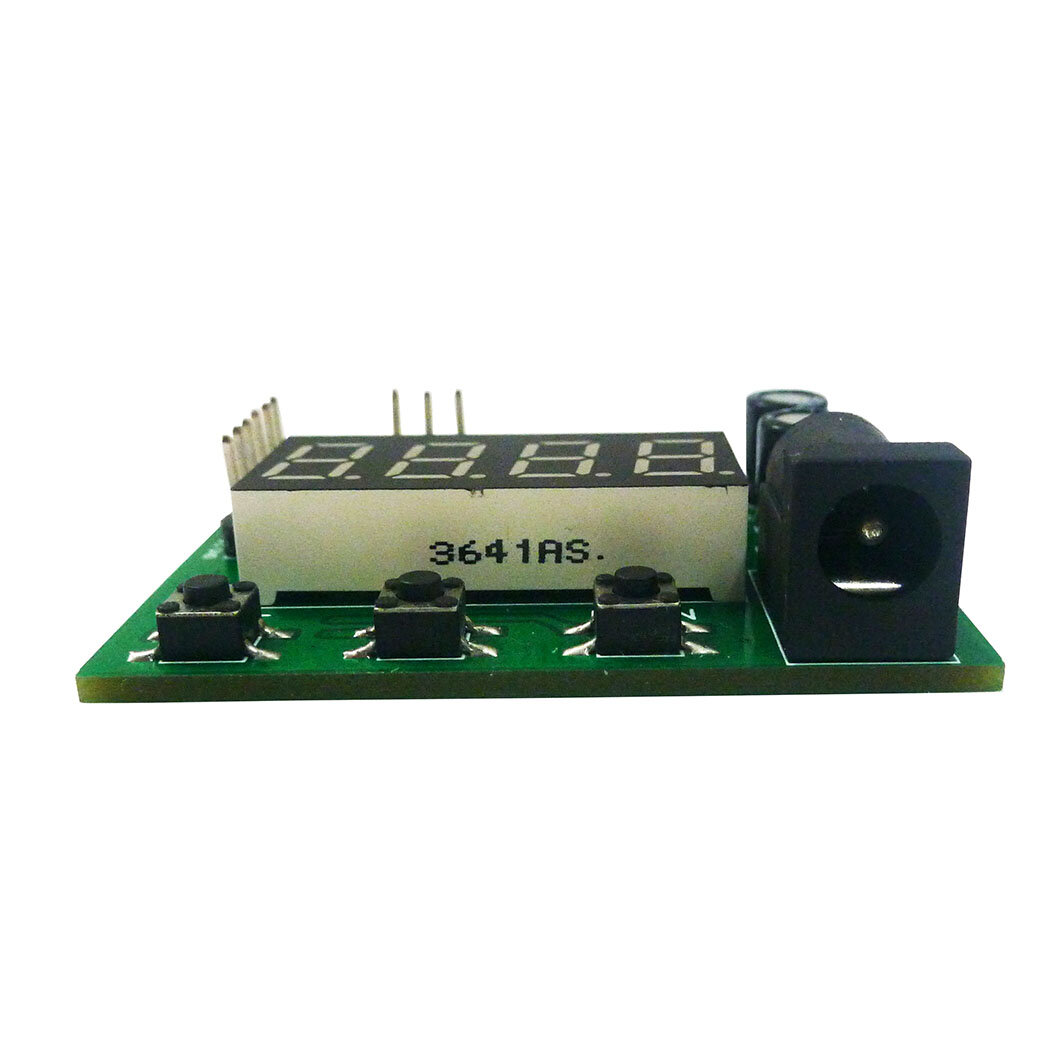
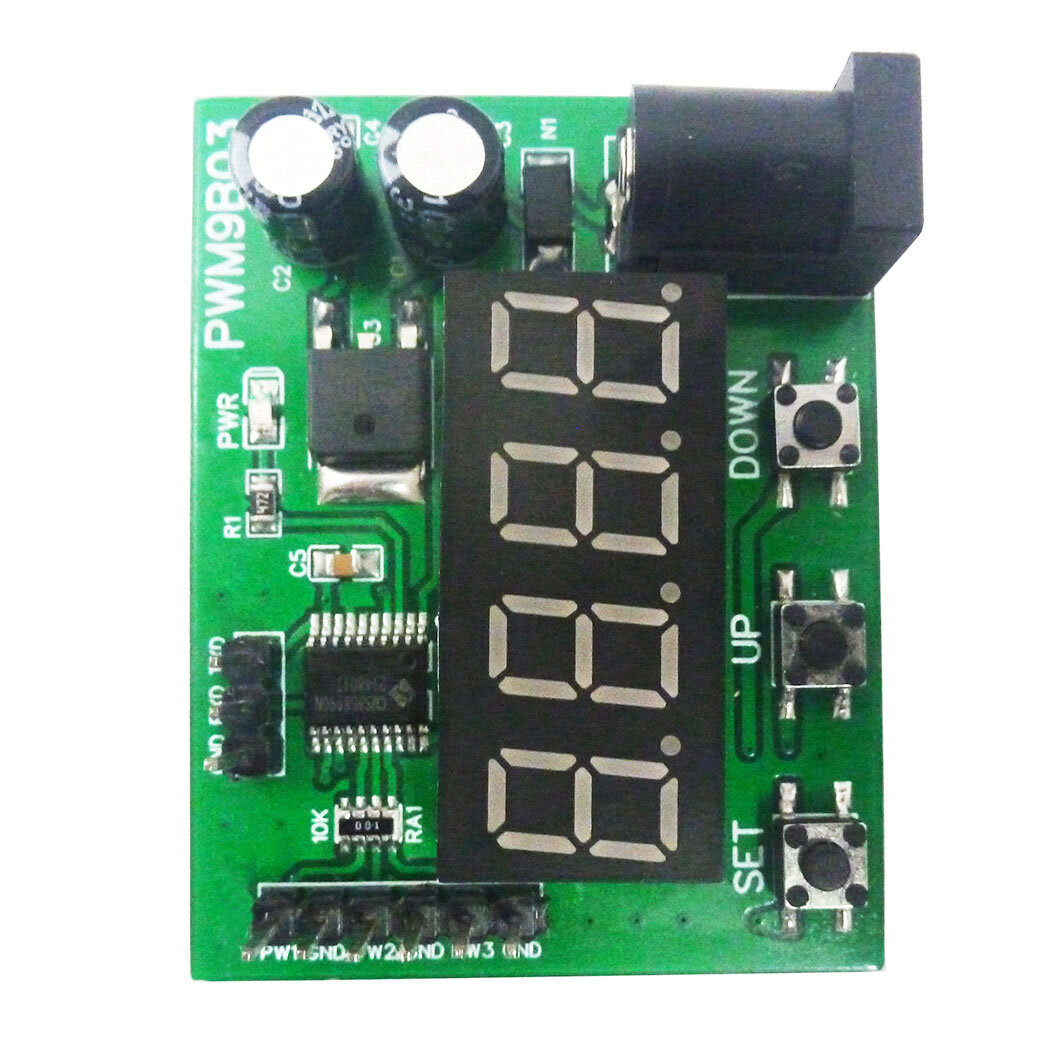
PWM9B03 3-Channel PWM Pulse Signal Generator Module

 Direct purchase from the factory
保證安全結帳

 免費禮物
免費禮物
 運送政策
運送政策 退貨政策
退貨政策免費禮物
歡迎來到Roymall,您的專業購買高級百貨禮物的網站。我們非常重視並感謝您的支持,並希望通過為您的購買增添額外的驚喜來表達我們的感激之情。當您與我們一起購物時,您不僅可以享受提升生活品質的高品質產品,還可以在每次訂單中獲得獨家免費禮物。 準備好探索我們的收藏並找到您的完美禮物了嗎?瀏覽我們的高級百貨商品選擇,下訂單,並期待您的免費禮物與您的購買一起到來。運送政策
我們將努力在收到您的訂單後將商品安全送達您手中。運送詳情將在您的確認郵件中提供。在大多數情況下,訂單將在2天內處理。在特殊情況下,可能會延遲如下:當您在週六、週日或公共假期下訂單時,將延遲2天。通常需要5-7個工作日(週一至週五),不受航班延誤或其他環境因素影響。由於我們的運送服務是全球性的,運送時間將取決於您的位置,因此可能需要幾天時間,如果您位於偏遠地區或國家,請耐心等待。1. 退貨與換貨政策
我們僅接受在roymall.com購買的商品。如果您從我們的本地分銷商或其他零售商處購買,則無法在我們這裡退貨。 最終銷售商品或免費禮物不可退貨。要符合退貨條件,您的商品必須未使用且與收到時的狀態相同。還必須保留原始包裝。收到我們的退貨指示後,請將退貨商品打包並將包裹送至當地郵局或其他快遞服務。我們將在收到退貨商品後3-5個工作日內處理您的退貨或換貨。退款將自動處理並記入您的原始付款方式。如果商品是根據訂製生產的,包括訂製尺寸、訂製顏色或訂製印刷,則不可退貨或換貨。需要更多幫助,請聯繫我們。 service@roymall.com 或 Whatsapp: +8619359849471
2.退款政策
在我們收到並確認退貨包裹後,您將獲得全額退款或100%商店信用。退款將自動處理並記入您的原始付款方式。 請注意,運費及任何關稅或費用不可退款。包裹發貨後,額外運費不可退款。您需負責支付這些費用,我們無法免除或退款,即使訂單被退回給我們。一旦我們收到並確認您的退貨商品,我們將向您發送電子郵件,通知您我們已收到您的退貨商品。我們還將通知您退款的批准或拒絕。如果您在退款過程中有任何問題,請聯繫我們。 service@roymall.com 或 Whatsapp: +86193598494711 Working voltage: DC 6-24V
2 Working current: DC 12-30MA
3 3 independent buttons: used to set frequency, duty cycle, working status, etc.;Support long press, short press, simple operation and diverse functions.
4 3 Channels PWM output: PWM Signal can set frequency and duty cycle respectively.
5 PWM signal level: 5V TTL level
6 PWM signal load capacity: <20mA
7 Output frequency accuracy: 0.6% (10-30 Degrees Celsius)
8 Ultra-high frequency range: 20HZ ~ 1MHZ, duty cycle 0-100%.
9. Power-off memory function: power off at any time, the last set data will be recorded and saved when power off, and the data will be displayed when power is turned on again.
10 Automatic exit function: If there is no operation for 36 seconds, the last set data will be automatically recorded, and the dynamic setting state will be exited.
11. Real-time update function: Under the dynamic setting function, you can connect an oscilloscope to grasp the set frequency and duty cycle at any time, and output the precise frequency or duty cycle.
12. Restore production setting function: in dynamic setting mode, press and hold the UP and DOWN buttons at the same time to restore the production setting (after pressing, you need to power off and power on again, the data will be updated to the default data)
13 kinds of application scenarios: The module has a variety of control methods and working modes, and three output channels, which can meet the requirements of different environments.
14 Dimensions: 49 x 38 x 13mm
15 Weight: 14.5g
PWM signal parameter description:
1 PWM frequency: the setting range is 20HZ ~ 1MHZ. The default value is 100HZ.
Four-digit digital tube, the decimal determines the unit of frequency. When there is a decimal point, the unit is KHZ, and when there is no decimal point, the unit is HZ.
The relationship between the digital tube display number and the output frequency:
0034: Indicates that the frequency is 34HZ
0234: Indicates the frequency is 234HZ
1234: Indicates the frequency is 1234HZ
1.234 : indicates that the frequency is 1.234KHZ
12.34 : indicates that the frequency is 12.34KHZ
123.4: Indicates the frequency is 123.4KHZ
0.123: Indicates that the frequency is 0.123KHZ (that is, 123HZ)
2 PWM duty cycle: setting range 0 ~ 100
0: The corresponding PWM remains low
100: The corresponding PWM remains high
1 ~ 99: corresponding duty cycle 0.01 ~ 0.99
The relationship between the digital tube display number and the output duty cycle
0005: Indicates that the output duty cycle is 0.05/5%
0050: Indicates that the output duty cycle is 0.50/50%
Note: 1. Other combinations are also possible, but whether the data can be more accurate is related to your test tool
Package include:
1u00d7 Module Board
How to set PWM output parameters:
Example 1:
For example, the parameters of the three channels are 100HZ/50%, 200HZ/60%, 300HZ/70%
View the parameters of the three channels:
1 Powered on PWM9B03 module, the PWR indicator is on, and the digital tube is off
2 Click the SET button to display PF1 (for 1 second), and then normally display 0100 (channel 1 frequency 100HZ)
3 Click the SET button twice to display dU1 (for 1 second), and then normally display 0050 (channel 1 duty cycle 50%)
4 Click the SET button three times to display PF2 (for 1 second), and then normally display 0200 (channel 2 frequency 200HZ)
5 Click the SET button four times, display dU2 (for 1 second), and then normally display 0060 (channel 2 duty cycle 60%)
6 Click the SET button five times to display PF3 (for 1 second), and then normally display 0300 (channel 3 frequency 300HZ)
7 Click the SET button six times, display dU3 (for 1 second), and then normally display 0070 (channel 3 duty cycle 70%)
Example 2:
Set channel 1 to: frequency 1000HZ, duty cycle 40%
1 Powered on PWM9B03 module , the PWR indicator is on, and the digital tube is off
2 Press and hold the SET button for 3-5 seconds, first display PF1 (for 1 second), and then flash the number
3 Click the UP/DOWN button to adjust the number to 1000 (frequency 1000HZ)
4 Press and hold the SET button for 3-5 seconds for the second time, first display dU1 (for 1 second), and then flash the number
5 Click the UP/DOWN button to adjust the number to 0040 (40% duty cycle)
6 Re-power
Example 3:
Set channel 3 to: frequency 10.12KHZ, duty cycle 60%
1 Powered on PWM9B03 module, the PWR indicator is on, and the digital tube is off
2 Press and hold the SET button for 3-5 seconds, first display PF1 (for 1 second), and then flash the number
3 Press and hold the SET button twice for 3-5 seconds, first display dU1 (for 1 second), and then flash the number
4 Press and hold the SET button three times for 3-5 seconds, PF2 will be displayed first (for 1 second), and then the number will flash.
5 Press and hold the SET button four times for 3-5 seconds, first display dU2 (for 1 second), and then flash the number
6 Press and hold the SET button five times for 3-5 seconds, first display PF3 (for 1 second), and then flash the number
7 Click the UP/DOWN button to adjust the number to 1012, and then click the SET button to adjust the number to 10.12 (frequency 10.12KHZ)
8 Press and hold the SET button for 3-5 seconds for six times, first display dU3 (for 1 second), and then flash the number
9 Click the UP/DOWN button to adjust the number to 0060 (60% duty cycle)
10 Re-power
Example 4:
Factory Reset
1 Powered on PWM9B03 module, the PWR indicator is on, and the digital tube is off
2 Press and hold the SET button for 3-5 seconds, first display PF1 (for 1 second), and then flash the number
3 Press the UP and DOWN buttons at the same time to restore the factory settings
4 Re-power


